


Equipment List
Backpacking and Wilderness Skills Equipment List
Below is a complete list of all the equipment required for this course. Most items are clickable and will take you directly to our Equipment Shop Page, where you can view equipment that meets the course requirements. You may purchase items in advance, buy them on the day of the course, or rent them if rentals are available.
Read everything here carefully.
This list represents a “worst-case scenario” for trips with significant weather. Some items may not be needed if conditions are mild, but it’s best to plan for the worst.
On day one of your course, an AAI Guide and an Equipment Specialist will help refine your kit, ensuring you have exactly what’s needed. Bringing extra gear or items you have questions about is fine. Unused items can be left at our Equipment Shop.
Cascade Climbing Season
May 1 – Oct 1
- Early Season (May 1 – July 1): Deep snow, wet days, cold nights (15°–40°F / -9°–4°C). Daytime highs 35°–70°F (1°–21°C). Snow and rain are possible.
- Mid Season (July 1 – Sept 1): Nights 40°–50°F, occasional freezing above 9000ft. Days are often 70°F. Mostly dry, but rain is possible.
- Late Season (Sept 1 – Oct 1): Cooling temps, increasing chance of snow and rain.
Check the forecast before your course to ensure proper preparation: NOAA Mt. Baker-Snoqualmie National Forest Weekly Forecast.
Provided Equipment
Climbing rope, anchors, and solid waste bags.
Rentals
Equipment available for rent through the AAI Equipment Shop is designated as “available for rent”. These items can be rented on the first day of your course.
Click each underlined heading to see examples and make online purchases of guide-approved gear from the Equipment Shop.

Clothing
-HEADWEAR-
- Beanie/Toque
- Wool or synthetic. Must fit under a helmet. Easily replaced with hooded layers after the early season.
- Sun Hat
- Ideally fits under a helmet. Ball caps with a button on top are NOT recommended. Visors or athletic hats are more comfortable, vent better, and are easier to clean and dry out.
- Buff / Neck Gaiter
- UPF-rated is highly recommended. Lighter colors are better for warm conditions and darker for colder conditions.
- Glacier Glasses
- Look for lenses that are CAT4 rated and have side shields. Ordinary sunglasses are NOT ADEQUATE!! Photochromic are more expensive, but usable in a wider range of light.
- NOTE: Those using contacts should also bring a pair of prescription glasses in the event that your contacts or solution are lost or damaged. If you only use glasses, get a pair of over-the-glasses glacier glasses.
- Look for lenses that are CAT4 rated and have side shields. Ordinary sunglasses are NOT ADEQUATE!! Photochromic are more expensive, but usable in a wider range of light.
- Headlamp
- Bring extra batteries or charger for rechargeable battery style. Ideal range is 350 or more lumens.
–GLOVES–
- Liner Gloves
- Thin, lightweight, wool or synthetic gloves. Size to fit snug but not too tight. Phone-compatible fingertips and palm texture are nice to have. These could be worn alone in temps greater than 25°F when it is dry. UPF rated are ideal.
- Midweight Softshell Gloves
- Bring 1 pair, 2 during the early season. These gloves are used for belaying, tying knots, rope management etc. Dexterity and durability are key. They provide slightly more insulation than a liner glove and are generally used in temps of 15°F to 30°F while actively using your hands. Comfortable but snug fit. Durable leather or synthetic palm. Water-resistant is recommended because they will dry faster.
- Hardshell Gloves
- Waterproof and insulated. If the glove lacks insulation, size it to fit a liner glove inside. Mainly used in wet conditions, cold temps, or when not moving.
- NOTE: April-May courses are often much colder and may require more heavily insulated gloves.
- Waterproof and insulated. If the glove lacks insulation, size it to fit a liner glove inside. Mainly used in wet conditions, cold temps, or when not moving.
-BASELAYERS-
- Undergarments
- Wool or synthetic. Long, compression-style undergarments can help reduce inner thigh chafing. Sports bras without shoulder buckles or clasps are more comfortable under a pack.
- Base Top
- A lightweight, wool or synthetic sun hoody is ideal. UPF 30+ sun protection is best. UPF clothing works better than sunscreen.
- Base Layer Pants
- Wool or synthetic. Typically thin. Bring 1 for the early or late season. Optional for mid-season (depending on weather).
-MIDLAYERS-
- Active Insulation Top
- Lightweight “gridded fleece” or lightweight synthetic insulated jacket or pullover. Hood preferred. Active insulation weight – 40g/m2. Heavier insulation weight – 60-80g/m2. Alpha fleece works as well.
- Softshell Pants
- Thin, weather-resistant, breathable, and stretchy. You will wear these a majority of the time.
- Softshell Jacket
- A soft shell jacket is considered an “action layer.” Its materials are designed to stretch and breathe while also maintaining wind and water resistance. This allows the user to leave this jacket on for a wide range of temps and conditions throughout the day without the hassle of constantly changing layers. Windproof jackets are lightweight and packable but lack the breathability and stretchy nature of the soft shell. Windproof jackets are ideal for blocking wind and light precipitation during low-output activities.
-INSULATING LAYERS-
- Insulation Jacket
- AKA the “puffy”. Down or synthetic. This piece is worn in cold conditions or when not moving. Hood preferred. If choosing down, water-resistant down treatment is preferred to help prevent matting and loss of insulating ability if the jacket gets wet.
-HARDSHELLS-
- Hardshell Jacket (Available to rent)
- Non-insulated jacket with a waterproof and breathable membrane. Three-layer construction is recommended. It must have a hood, ideally helmet-compatible. When sizing, make sure it can fit over other layers. Not insulated.
- Hard Shell Pants (Available to rent)
- Non-insulated, waterproof, and breathable membrane. Full side zips are recommended. Ideally has at least 1/4 length zipper from the bottom of the pant cuff in order to get pants on and off while wearing mountain boots. When sizing make sure it is able to fit over a base layer and soft shell pants. Insulated ski pants are strongly discouraged due to lack of waterproofness and heavy insulation.
-FOOTWEAR-
- Socks
- Wool or synthetic socks that are at least mid-calf height. Modern boots are designed to insulate your feet, so a thicker sock is not recommended as these tend to lead to blisters and moisture retention. Using a lighter sock allows for a more accurate boot fit. Wearing a “silk-weight” liner sock beneath your hiking sock can reduce friction on the skin and mitigate blister development.
- Hiking Shoe or Trail Running Shoes
- Lightweight boots can be appropriate for early-season programs (mid-June or earlier) when the weather forecast is cold and/or wet. By mid-season many opt for trail running shoes as they are lighter and dry out faster than traditional hiking boots. Be aware that trail running shoes do not offer as much support when traveling with heavy packs. A high stack shoe like a Hoka, is not recommended.

Camping
- Tent (Available to rent)
- 3 season tents can be used if the rain fly goes all the way to the ground on all sides. A “bathtub” floor for the inner test is also recommended. This means that the inner tent has a water-resistant floor material that scoops up from the floor 4-12″ before changing to mesh. If your tent does not have wind lines, an additional 6-10ft of 3mm accessory cord is needed for rigging your rainfly in a mountain environment. (You can rent a 4-season and it’s possible to share if you would like).
- Early Season: Double wall 4-season tent recommended.
- Mid Season: 4-season or 3-season tent.
- Late Season: 4-season tent recommended.
- 3 season tents can be used if the rain fly goes all the way to the ground on all sides. A “bathtub” floor for the inner test is also recommended. This means that the inner tent has a water-resistant floor material that scoops up from the floor 4-12″ before changing to mesh. If your tent does not have wind lines, an additional 6-10ft of 3mm accessory cord is needed for rigging your rainfly in a mountain environment. (You can rent a 4-season and it’s possible to share if you would like).
- Sleeping Bag (Available to rent)
- Synthetic or down. If you bring a synthetic bag, bring one on the lower end of the temp range since synthetic bags tend not to be as warm as down. If you sleep cold, bring a warmer bag than required. If choosing down, water-resistant down treatment is preferred to help prevent loss of insulating properties if the bag gets wet.
- Early Season: 0° to 20°F (-18°to 6°C)
- Mid Season: 20° to 30°F (-6° to -1°C)
- Late Season: 15° to 20°F (-10° to -6°C)
- Synthetic or down. If you bring a synthetic bag, bring one on the lower end of the temp range since synthetic bags tend not to be as warm as down. If you sleep cold, bring a warmer bag than required. If choosing down, water-resistant down treatment is preferred to help prevent loss of insulating properties if the bag gets wet.
- Compression Stuff Sack
- For your sleeping bag. A waterproof compression sack is recommended.
- Sleeping Pad (Available to rent)
- Early Season: Bring 2. One inflatable and 1 closed-cell foam. The foam pad helps insulate from the snow and serves as a backup to the inflatable pad.
- Mid/Late Season: One inflatable pad or closed cell foam pad.
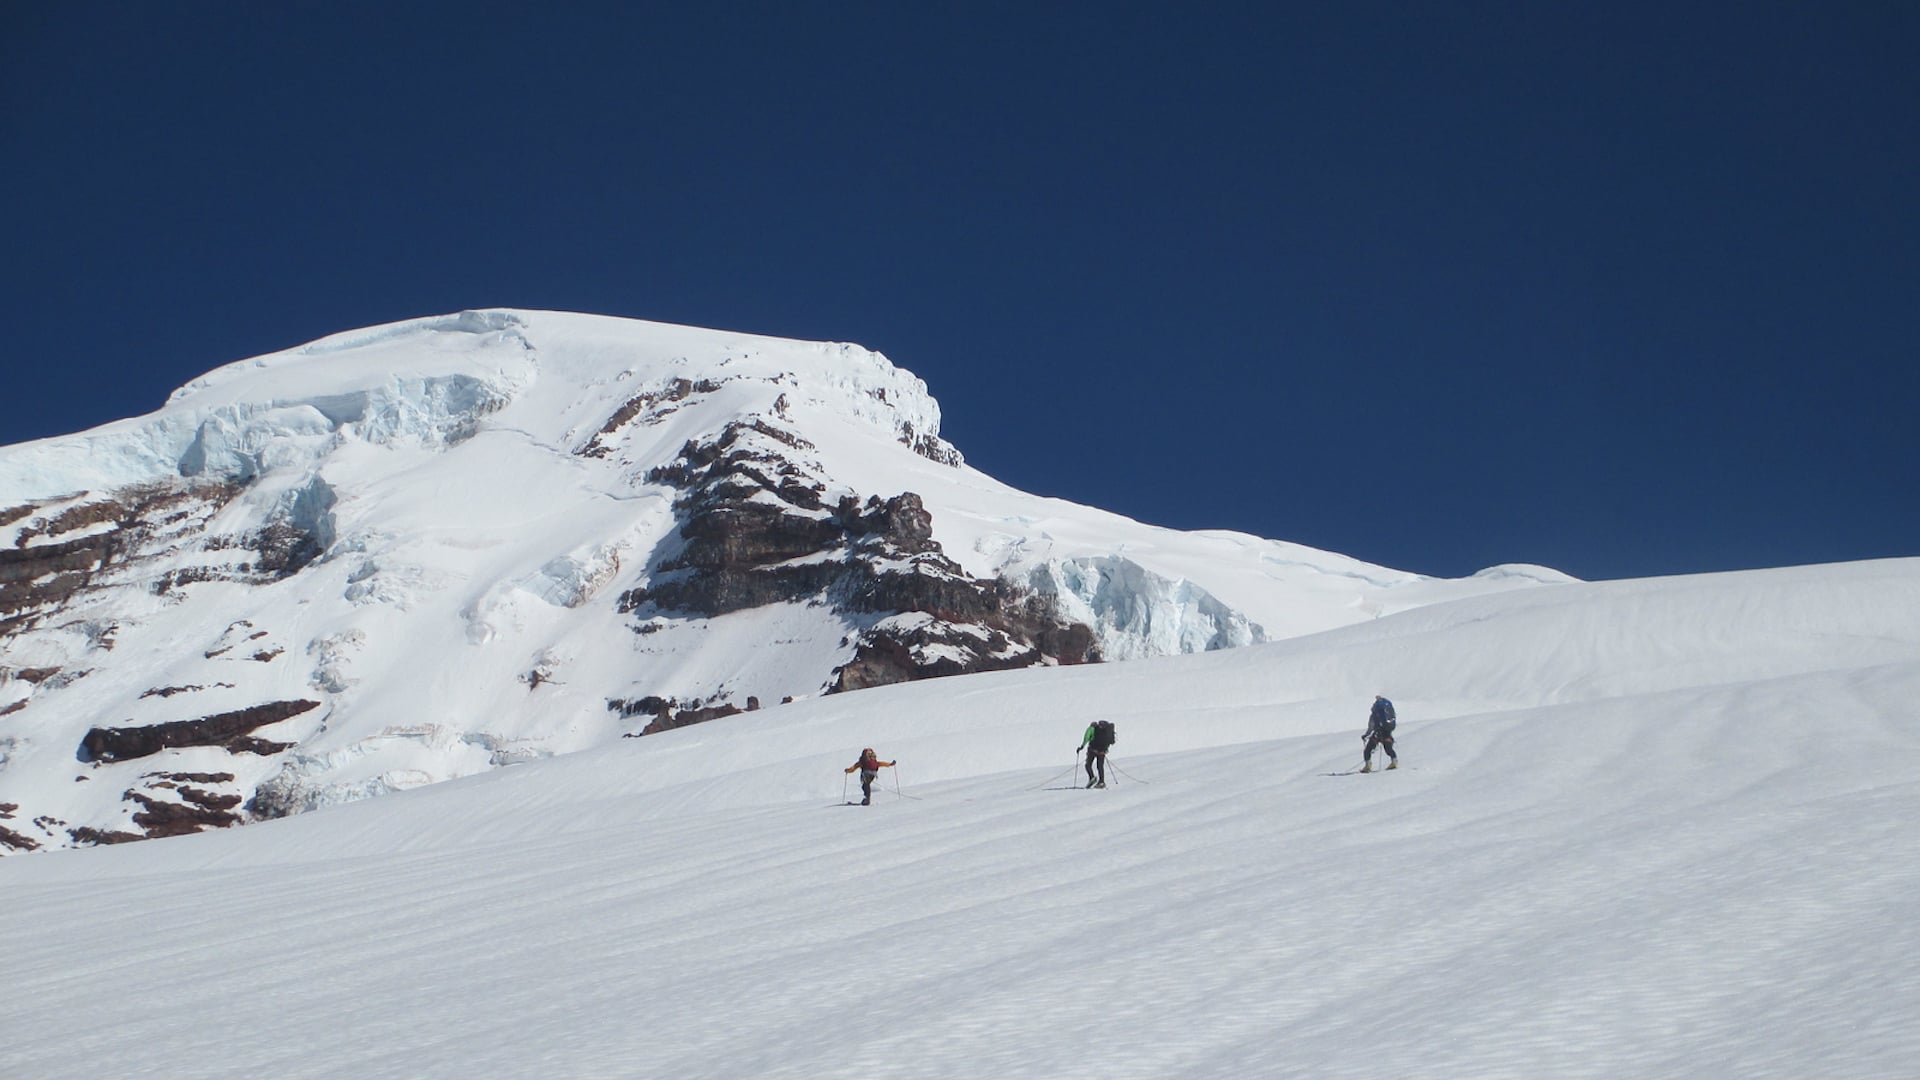
- Trekking Poles (Available to rent)
- One is required, 2 are highly recommended. Poles help with balance while hiking with a heavy pack and increase security during stream crossings. They also decrease the pressure on your knees during steep descents. For early season, poles should have snow baskets.
- Internal Frame Pack (Available to Rent)
- A 65L to 75L pack is the recommended size range. Mountaineering specific packs, instead of backpacking packs, are a good way to shave weight. Should also have the ability to carry weight well.
-Camp Kitchen-
Link to all camp kitchen items below.
- Stove & Fuel (Available to rent)
- Pots
- Bring 1 pot.
- Early Season: Bring a bigger pot for melting snow, 1.5L to 2L
- Mid/Late Season: 0.5L to 1L
- NOTE: If you have a complete stove system like the Jetboil or MSR Reactor and plan on eating out of your integrated pot, then you do not need to bring another pot.
- Bring 1 pot.
- Utensils
- Don’t forget the official “most forgotten item” – The spoon or spork. Long-handled spoons make stirring hot liquids safer and metal ones tend not to break as easily in cold temps.
- Bowl
- Early Season: Bring a plastic bowl or mug, preferably with insulation
- Mid/Late Season: Bring a plastic bowl, insulation not necessary
- NOTE: If you have a Jetboil or MSR Reactor type stove and plan on eating out of your integrated pot, then you don’t need to bring a bowl. The same applies if you plan on using commercially packaged dehydrated or freeze-dried meals.
- Lighters
- Bring 2.
- Hydration
- A 3L capacity is recommended, though some people need more. A common approach is to bring a 2-3L bladder and a 1L hard-sided bottle. The bottle is important as a backup to the bladder if it gets punctured. A hard-sided bottle may also double as a mug for hot water, though not every bottle is designed to hold boiling water.
- For Camelbak-style hydration bladders, bring a drinking tube insulator, as the tube can freeze up. Drinking tubes must also have a lock on the bite valve. If you choose to use this system, be aware that it requires constant vigilance to avoid freezing. Be prepared to have to pull your bladder out of your pack to drink, as hoses freezing is a persistent issue on programs.
- Early Season: Bring more water carrying capacity, usually in the form of bladders (4 to 8L) to reduce the number of times you need to melt snow.
- A 3L capacity is recommended, though some people need more. A common approach is to bring a 2-3L bladder and a 1L hard-sided bottle. The bottle is important as a backup to the bladder if it gets punctured. A hard-sided bottle may also double as a mug for hot water, though not every bottle is designed to hold boiling water.
- Water Purification
- Water purification of some form is required. A water filter is highly recommended, as water purification tabs don’t function in cold water. Steripens are an acceptable alternative to purification tablets. Integrated filters like the BeFree and Quickdraw are preferred.
- NOTE: Pumps can be damaged by silt in the glacial water and can easily freeze at night and crack.
- Water purification of some form is required. A water filter is highly recommended, as water purification tabs don’t function in cold water. Steripens are an acceptable alternative to purification tablets. Integrated filters like the BeFree and Quickdraw are preferred.
- Food
- You are responsible for your own food for the duration of the course. Please consult our meal planning page. You should arrive on the first morning of your course with at least 5 days of backcountry food and at least 1 day of front-country food. The front-country food will be for the 1 day of rock climbing the 5 days of backcountry food will be for your time on Mt. Baker.
>Click here for full camp kitchen items for sale

Other Essentials
- Toothbrush & Toothpaste
- Travel size recommended
- Hand Sanitizer
- Required. Used after going to the bathroom and before eating. Wet wipes can be used for the “mountain shower.”
- Alarm Clock
- You will be responsible for waking up at certain times throughout the program. While your guide can sometimes be your alarm, there are often situations where tents are far apart. Be sure if you use your phone as an alarm that you have enough backup battery to accommodate for this. If you plan to use a watch, be sure your alarm is loud enough to work for you.
- Toilet Paper
- The provided solid waste bags have a small amount of toilet paper with them, but most people do not find this to be adequate. Estimate how much you’ll need for a program of this length and place that in a plastic zip-lock bag. An extra zip lock bag can be helpful for pack-out of used paper. If you plan to use wet wipes, be wary of scented or exfoliating types as these can be an irritant for some people.
- Pee Cloth (Optional)
- A reusable, antimicrobial pee cloth, used in place of toilet paper or wet wipes. Note that everything is pack-it-in/pack-it-out for Leave No Trace purposes. If toilet paper is used, it will have to be packed out. This also helps keep pack weight down.
- Urination Device (Optional)
- Pee funnels such as the GoGirl or Freshette.
- Menstrual Cup (Optional)
- As with toilet paper, everything in the backcountry must be packed out. Menstrual cups can help with waste needing to be packed out.
- Suncreen
- At least an SPF of 30+, zinc-based is preferred. Small travel-size tubes are recommended so you can put them in a close-by pocket for easy access.
- Lip Balm
- Make sure it is SPF-rated.
- Personal First Aid Kit
- Band aids
- Blister Treatment
- Prescription Drugs
- Ibuprofen, etc
- If you wear contacts, make sure you have spares if you can’t see without them
- Repair Kit
- Inflatable sleeping pad patch kit
- Duct tape (can be wrapped around a trekking pole or a water bottle. Gorilla Tape tends to be the best brand for the mountains).
- Zip ties
- 6-10ft of 3mm accessory cord
- 2 trash bags that are big enough to line the inside of your pack with
- Notebook and Writing Utensil
- Some form of being able to take notes is nice. A Write in the Rain notebook might be handy.

Optional Items
These items are not required, although many are nice “luxury” items that can make your expedition more enjoyable. Remember that a few ounces here and there add up to extra pounds on your back and knees during your expedition.
- Gaia Navigation App
- Optional smartphone app. Please have the Mt. Baker (all aspects) maps downloaded prior to the start of your course.
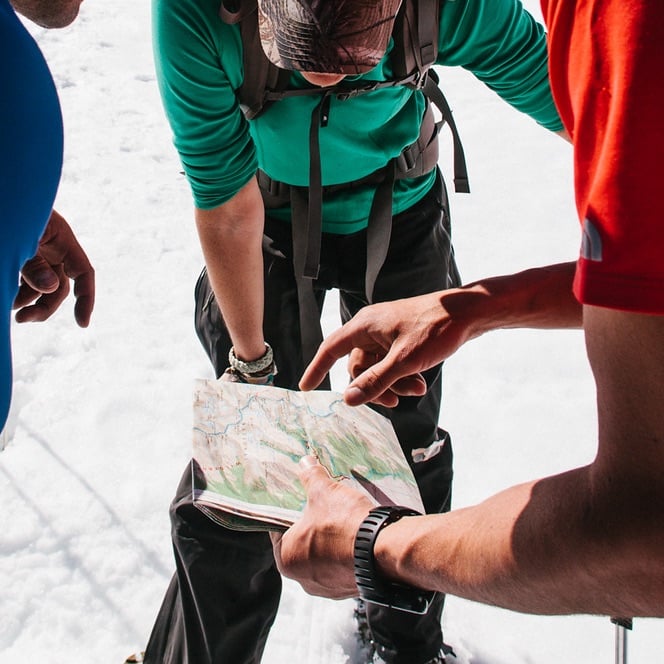
- Map and Compass
- Map should be of Mt. Baker Area (Preferably Green Trails Maps #13SX). The compass must have a declination adjustment.
- Altimeter Watch
- If you have one then bring it. It is a great tool to have in the backcountry, especially for navigation.
- Pee Bottle
- Used at night or when the weather is poor so you don’t have to get out of your tent. A 32oz or larger capacity is strongly recommended. Many guides use a bladder instead of a bottle to increase capacity.
- Entertainment
- Books, games, cards, music player, kindle, etc. For evenings or other downtime.
- Portable Charging Device
- Phone charger, battery pack, or solar panel. You are responsible for your alarm clock each morning. If you are going to use your phone, be sure you have enough power to accommodate this.
- Ear Plugs
- For defense against snoring and high winds.
- Insect Repellent
- Biting insects such as mosquitoes and blackflies can be prevalent during different times of the season, depending on conditions and location. This is a nice item to have just in case. Sometimes, even a headnet is a nice item to have.
- Camera
- Phone cameras or small point-and-shoot cameras are preferred. Large cameras and lenses are not recommended due to their size and bulk.
- Comfortable Clothing and Footwear
- Breathable footwear – like flip flops – as well as some comfortable cotton clothing can be nice to change into after you get back to the van.
- Car Charger
- Consider bringing an extra battery pack as well; having a lot of people using car charger cables is difficult.