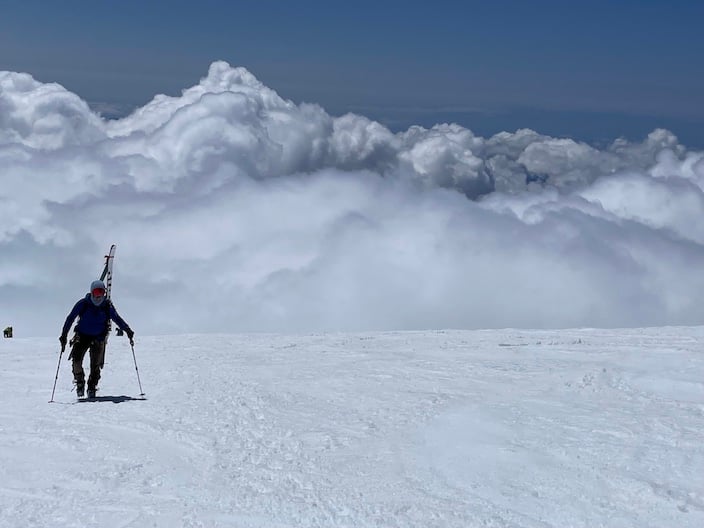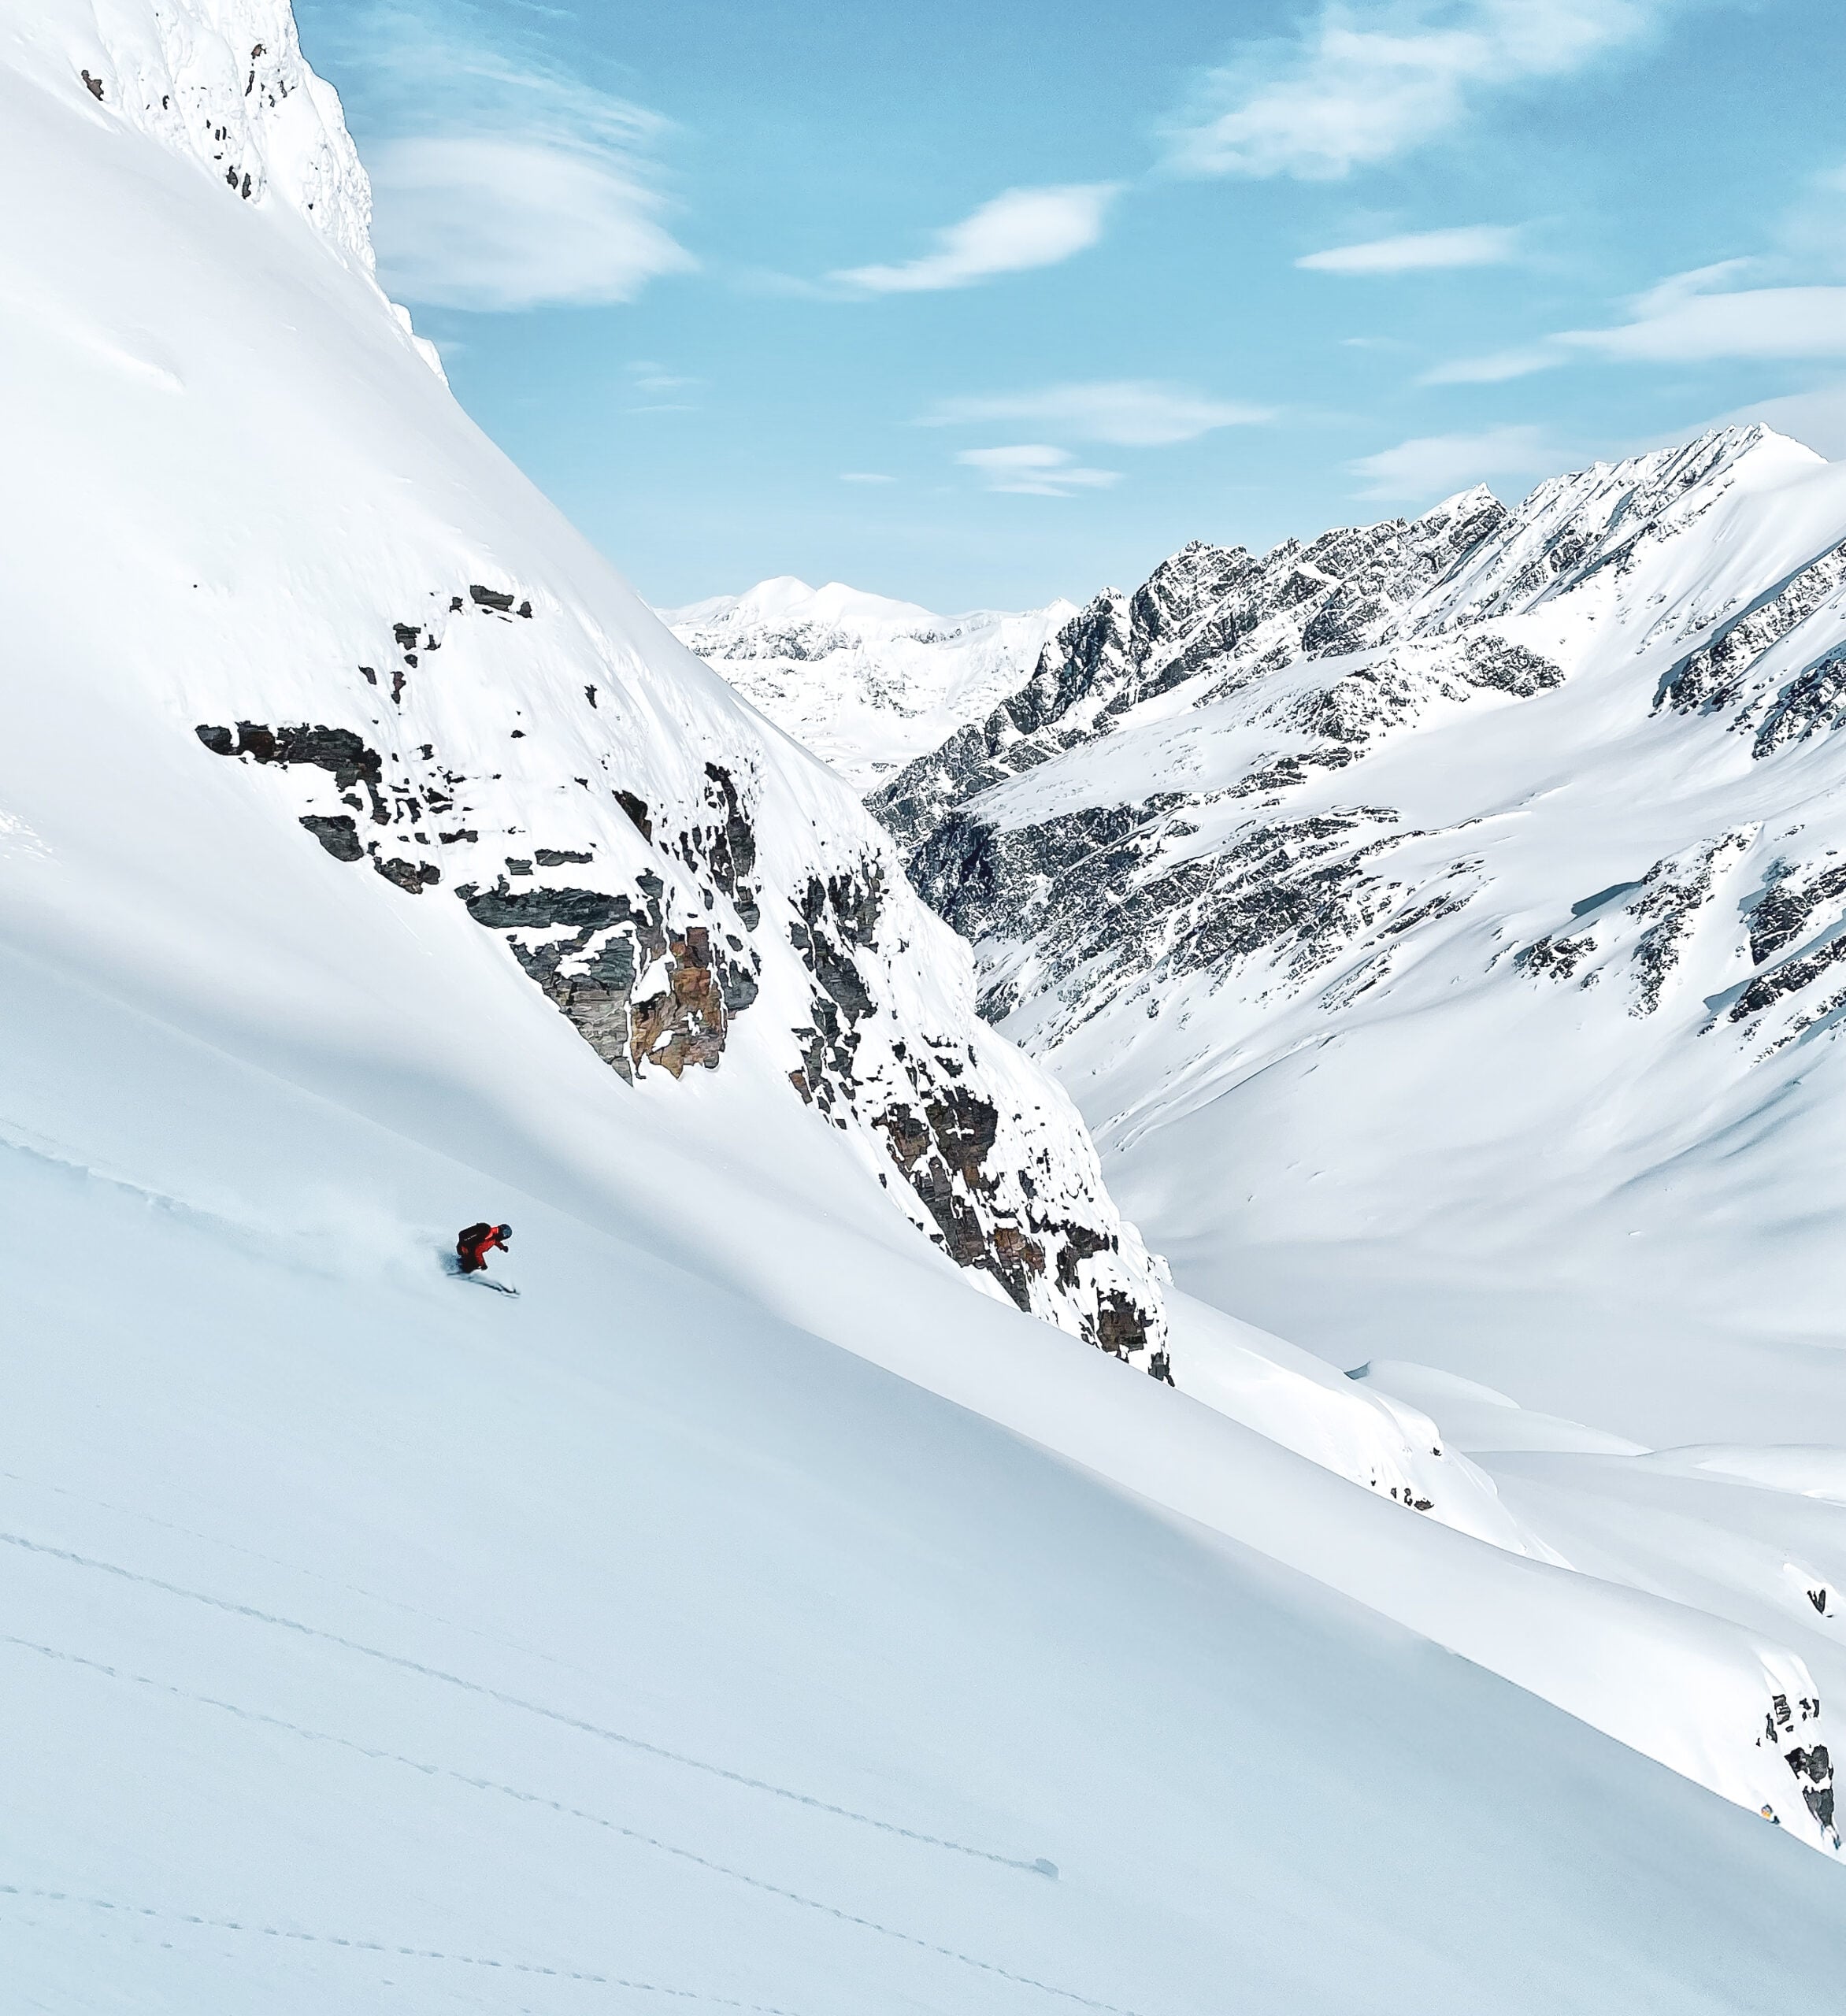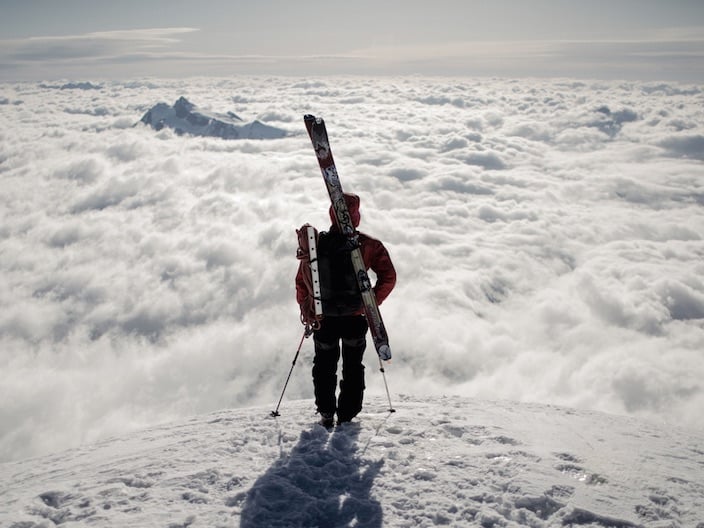


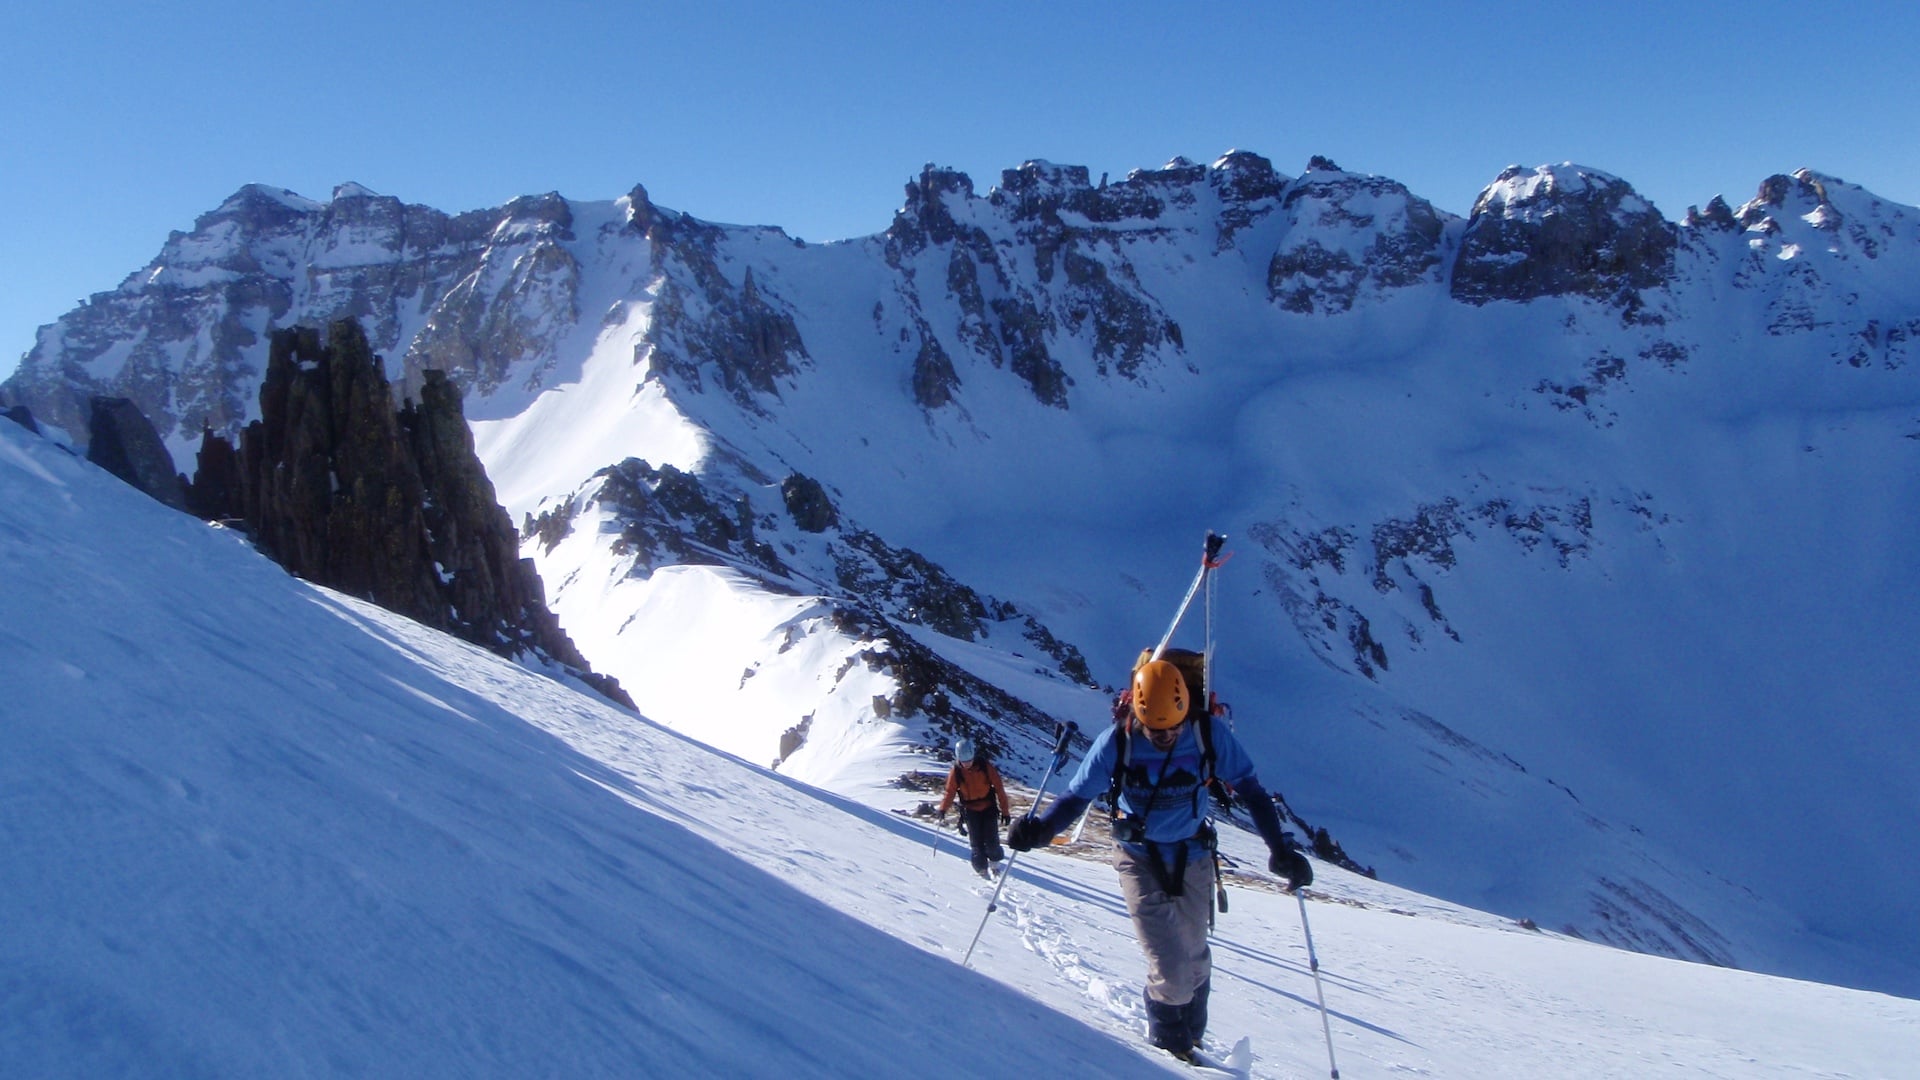


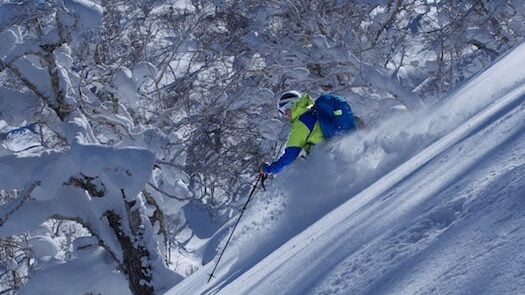
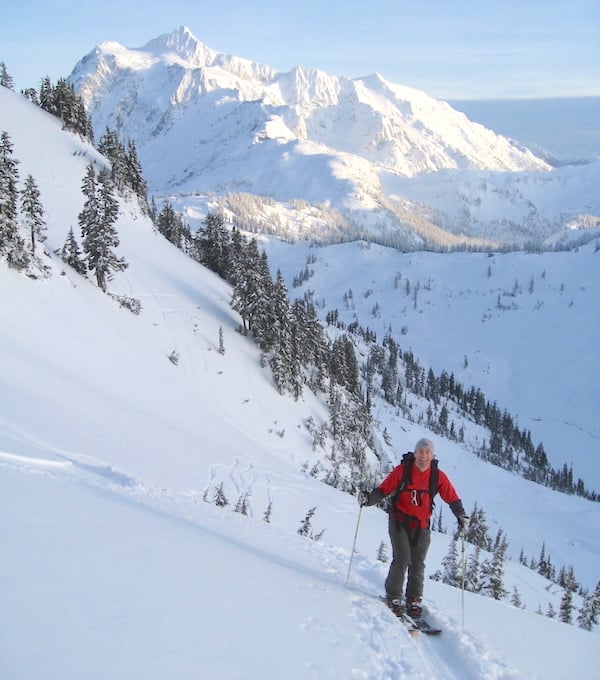

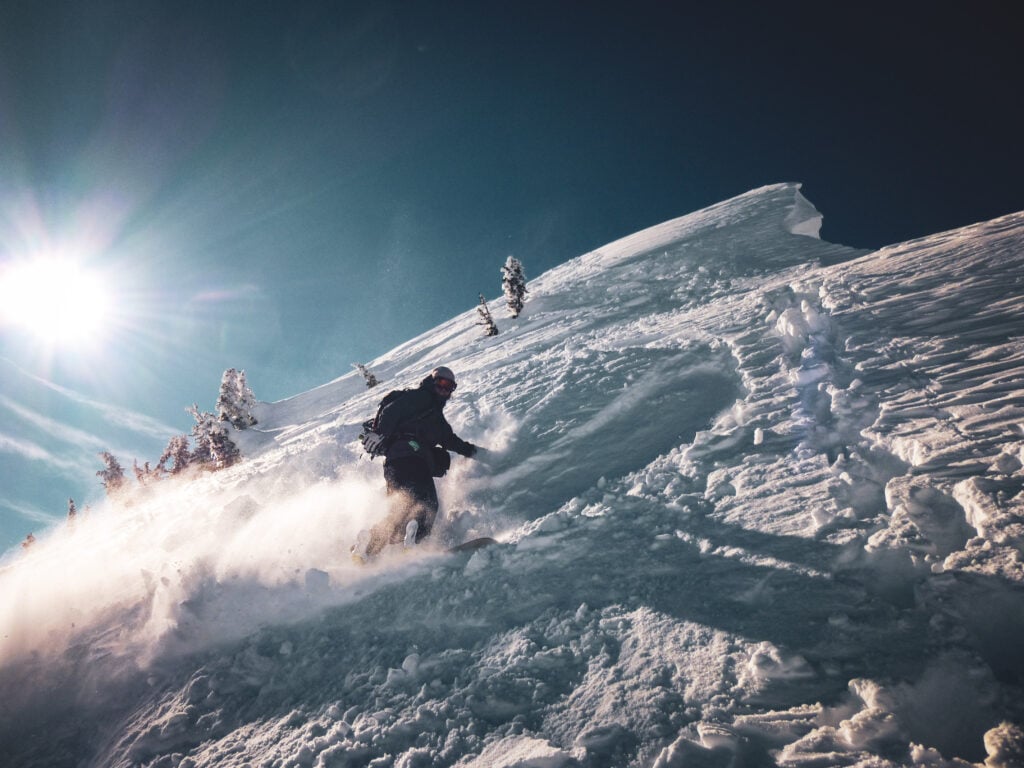
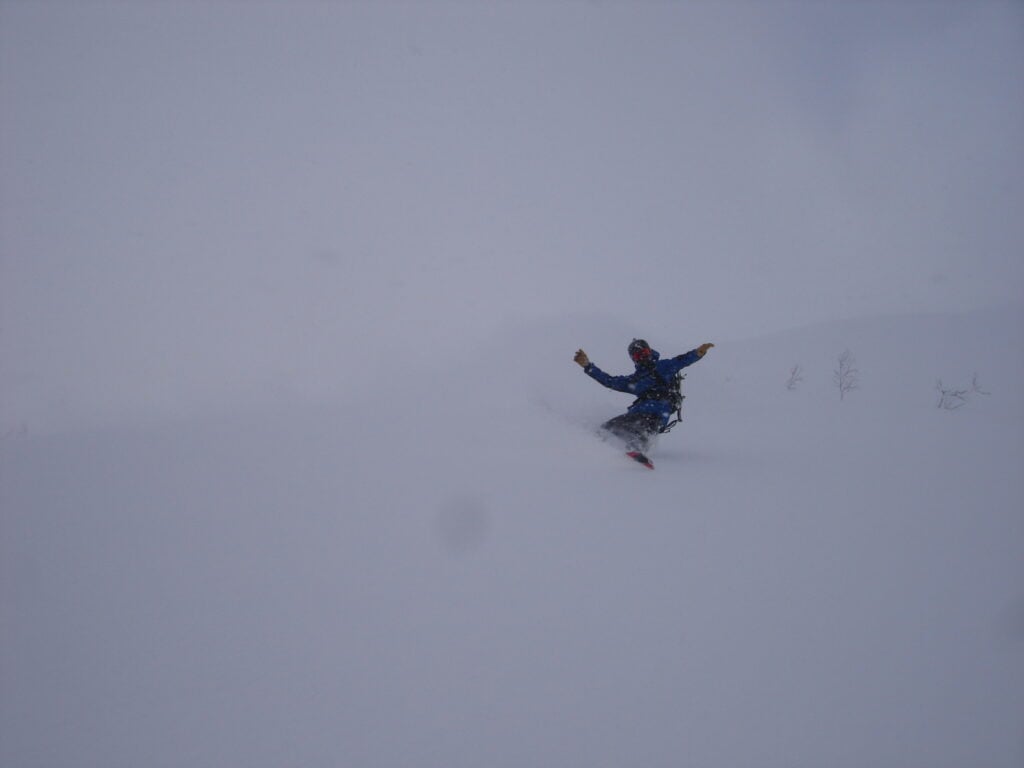
Splitboarding opens up a new world of backcountry access for snowboarders—offering the freedom to tour uphill and ride untracked lines without the burden of snowshoes. This course is designed for experienced resort riders who want to learn how to use splitboard gear effectively and start exploring beyond the boundaries.
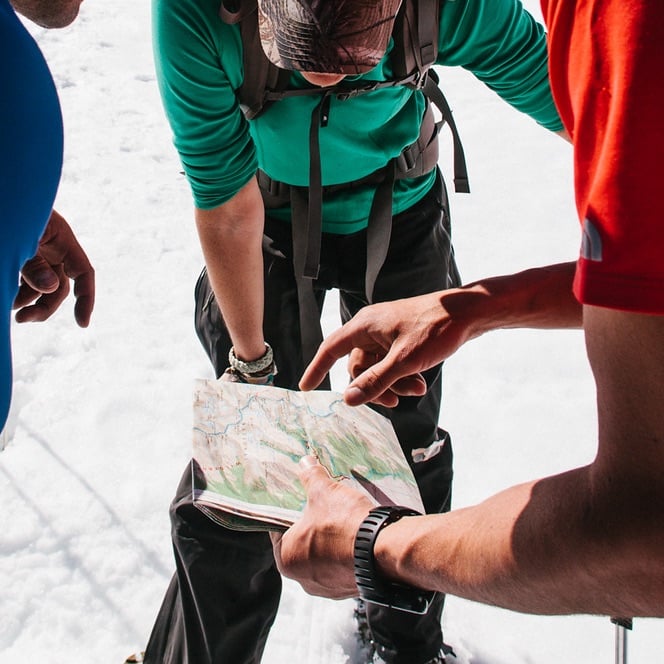
Over the course of 2 days, you’ll get hands-on experience with uphill travel techniques, transitions, and terrain management. You’ll learn how a splitboard works, how to use climbing skins, and how to move efficiently through backcountry terrain with a group. With expert guidance and the option to rent gear, this course takes the guesswork out of getting started so you can build confidence and start riding in the backcountry with skill and purpose.
 Curriculum