


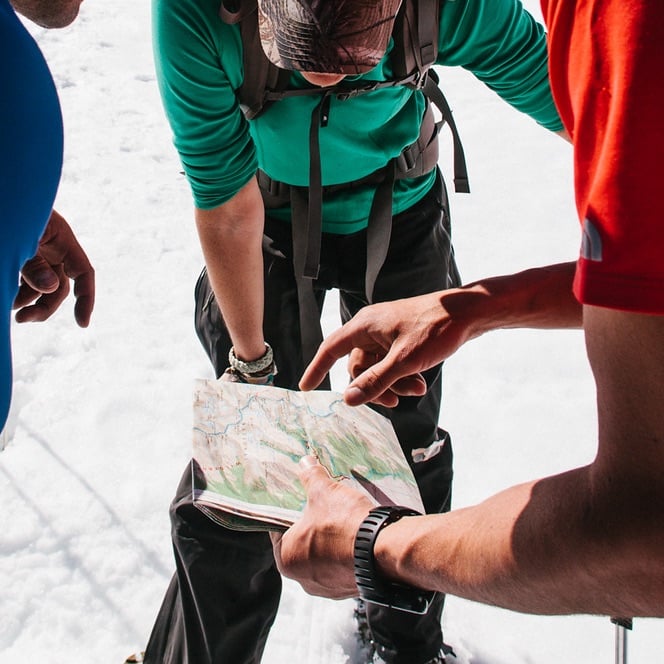


So somewhere
along the way I got a bit of a reputation. Seems that folks think I’m some kind
of ice climber. Turns out they’re pretty right.
In truth, I love all kinds of climbing. Depending on the
time of year, I chase long alpine routes, big rock climbs, small rock climbs,
ice routes of all shapes and sizes, and sport-rock, sport-mixed, and even some
sport-trad (right…). I even bought a bouldering pad this year! But one of the coolest mediums to climb, in my
opinion, is ice. I just love winter climbing (almost as much as I like summer
climbing)! The ice changes so much from day to day, even hour to hour. Ice
climbing can be remarkably different, too, depending on where and when you
climb it. Water ice routes in the northeast and southwest, summer glacier ice
in the Cascades, bullet-hard alpine ice in Alaska, or even the semantically
challenging “snice” that forms from hardening freeze-thaw cycles in snow.
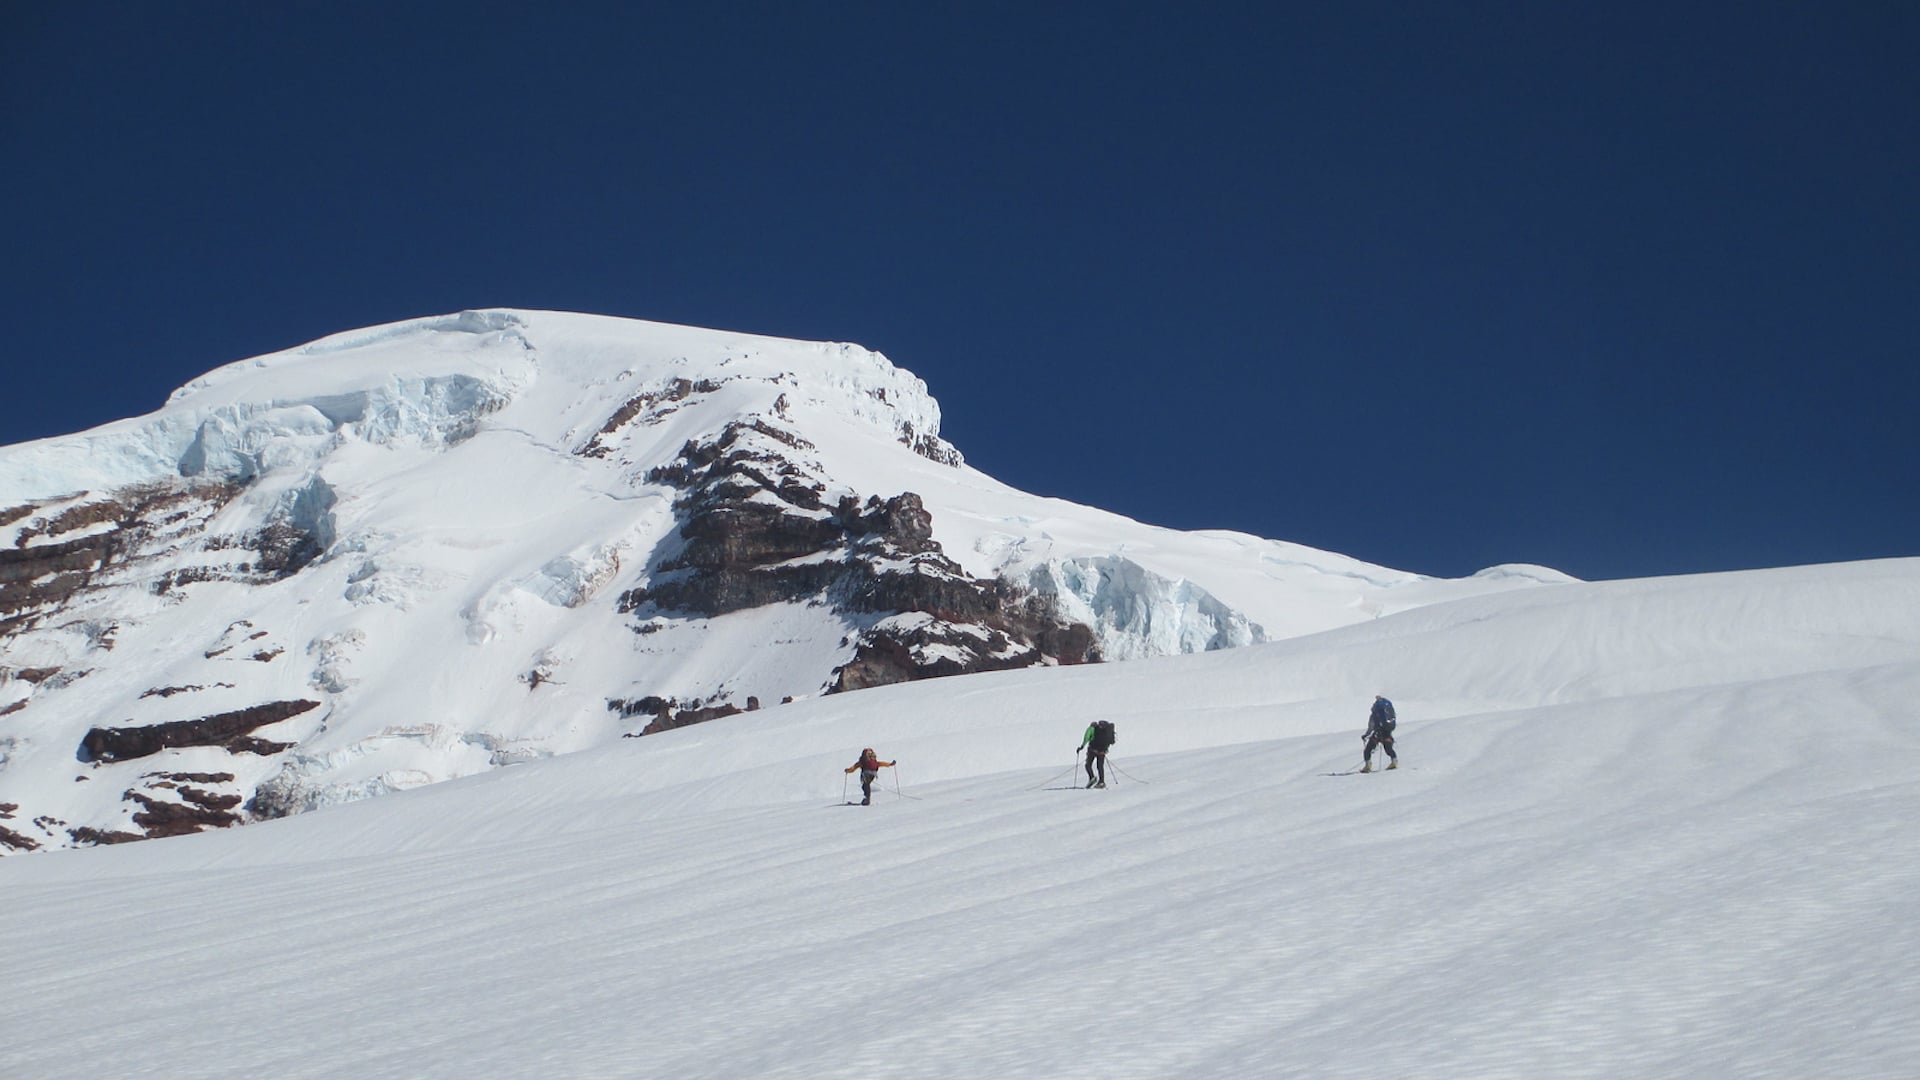
One of my favorite things to teach, in fact, is ice
climbing. I teach water ice climbing techniques in the winter, and teach
glacier ice climbing in the Cascades in the summer. Both types of climbing
certainly have their differences, but in general, the technique of ice climbing
is transferable to all types of ice, just like how rock climbing skill
transfers through its many flavors.
This Pro Tips article is divided into three parts: form, gear, and clothing.

Technique 1: Arms


Picture 2: Bent Arms

Picture 3: The Lockoff
This two-part picture demonstrates the sequence of swinging
form. In the left picture, the climber is resting on a straight arm. In the
right picture, he has moved his feel up (with arms still straight, right?) and
is now swinging his left axe with a locked off right arm.
The “lockoff” is the second-easiest position to be in. This
is the same place as when you are hanging from the pullup bar with your head
above the bar. It’s easier than the
mid-position, bent-arm hang, but is much more difficult than hanging from a
straight arm. So, this is used while swinging for the next axe placement, but
is much more strenuous than hanging as the climber is in the left picture.

Picture 4: Kicking
Okay, back to the demo picture. Ice climbers, with their
penchant for politically correct slogans, use the term “Swing like you screw,
and kick like you poo.” While funny in a cute, weird sort of way, this is
really valuable. While you’re swinging, you want to be locked off, and have your hips into the wall. When you’re kicking new steps, you want
to have your arms locked off and have your hips out from the wall.
This allows you to keep your heels down and make direct hits into the ice with
your crampons. In general, smaller steps are easier on your body than big
steps. You may need to take a few smaller steps up as opposed to one big step.
I like my feet to end up about where my knees were at the previous break.
Technique 4: Hand Position

Picture 5: Hand Position
There are a few things going on in
this picture that I want to talk about. First, the right hand is using the
higher grip on the ice tool. This is only possible with leashless tools (which
I do recommend if you’re ready for it. But
that’s a totally different issue). The top grips allow you to get another 4
inches or so above the bottom grip, which can allow you to have a straighter
arm, and give you a little longer stride up. Only modern tools like the Petzl
Nomic, Quark, Ergo, or Black Diamond Cobras have the second grips. The more
comfortable, the better.
Second, the two tools are about
the same height. I usually avoid this, instead keeping one tool higher than the
other. This allows you to swing fewer times for each step up you take. Sometimes, though, I will make two placements
near each other, for traversing or for stability if the ice is a bit funky.
Last, try to grip the ice tool as
lightly as possible. I often play “twinkle-fingers” while practicing on
toprope. When you are hanging from your straight arm, try to wiggle your
fingers on your hand. The goal is to release the death grip from your ice tool.
The more you clench your hand, the more pumped you’ll be. Try to find the
position which holds the tool well, but doesn’t waste energy. Then, try and
take this technique to all times when you’re hanging on your ice tools to save
some grip strength.
Technique 5: Straight Legs

Picture 6: Climber with bent Legs
Ideally, when standing, your legs
will be straight (again, to rest on the skeleton instead of your muscles, in
this case the calves). You can lock them, or have a very slight bend in them.
This climber’s legs are a bit too bent for “textbook” form. It will end up
putting a bit too much strain on the calves, and will feel insecure in general.
The telltale “Elvis foot” or “sewing machine leg” is sometimes related to this,
although not all cases are attributable to poor form. Sustained climbing tends
to fatigue calf muscles while ice or mixed climbing.
So that gives a good overview of ice climbing techniques. Stay tuned to the blog for more technique tips to take you higher!

Look at the difference between these two ropes!
Where would we be without good ropes in the winter?!
Ice climbing is a perfect storm for poor rope conditions.
Water often flows down the ice flow, and down the rope itself. This water
freezes, either just on top, or it soaks the rope entirely to the core. Then, the
rope gets dragged through snow that sticks like Cheerios to honey, which
further compounds the problem. Rinse, repeat.
The picture above shows the difference between a brand new,
dry-treated rope and a fatty, fuzzy, ice collecting rope you simply shouldn’t
take out climbing in the winter. Notice not only how much ice and snow the
purple rope has collected, but also how much wider it is. The rope was so stiff
and frozen that I had to break the “ice cable” just to coil it. The green rope
remains soft and supple, ready for another climb or three.
Bottom line: use new, fairly thin (under 10mm), dry-treated
ropes. If it’s fuzzy, leave it at home unless you want to be belaying or
rapping down (!) frozen ice cables.
Part III: Clothing
Everyone has their own clothing systems. It seems like a lot
of climbers these days have the same idea
when it comes to dressing for the
coldest sport in the lower 48. Note that NONE of the gear is cotton.
It’s all
synthetic, which insulates when wet, dries easier and smells worse, too.
Clothes:
1. Base layer. A t-shirt will do. It is
more comfortable than the R1 on your skin, and if nothing else, this layer
keeps the R1 from smelling too bad.
2. R1 Hoody. This is a dream piece. It is
comfortable, warm, and has a built-in hood/balaclava for your head and neck.
It’s awesome.
3. Softshell or hardshell jacket. Depending
on the location, weather, and how wet I think the snow and ice will be, I’ll
decide between soft- and hard shells. A softshell is more breathable, but gets
wetter and lets more wind through. Hard shells are water- and wind-proof, but
are not as comfortable, and stretch less.
4. Expedition down parka or DAS parka.
Again, depending on weather. If it is really cold out, the down parka is the
warmer option, though it, like all other down, cannot insulate or dry out when
wet. The DAS in synthetic, so will keep you warm when wet and can dry out with
body heat if it does get wet. It’s not quite as compressible or warm as the
other. Either way, I always bring a puffy with me.
5. Softshell or hardshell pants. Just like
the jacket, I’ll base the decision on the anticipated conditions. Softshell
pants are a lot nicer to move in, because they stretch so much, compared with
hardshells. I like the Mixmaster pants because they have built-in R1 insulation
and are suspenders, which is more comfortable than regular pants. It is nice if
your pants can fit over ski boots and climbing boots, to allow more
versatility. Most pants do this well.
6. R1 long underwear. I really like these.
They’re warm and stretchy. I rarely go ice climbing in just pants with no
insulation underneath. If it gets too hot and I have them on, I can usually
regulate my temperature easily with upper layers easily enough.
Gloves:
7. Chilly-Grips. Find these at your gas
station or Home Depot. They’re a synthetically-insulated glove with a rubber
palm. They are cheap ($12) and climb really well. I use these only when it’s
warm out. They’re great for mixed climbing.
8. Black Diamond Punishers. There are
others out there that work well, but I have found these to be excellent.
They’re totally waterproof, have good dexterity and grip, and are warm enough
for most ice climbing.
9. Mitts or warm gloves. I love my hands,
and want to keep them warm at belays. I can usually belay in big gloves and
then switch to Punishers for climbing. I often carry the gloves I’m not wearing
inside my jacket to keep them warm and dry.
Misc.
10. Buff. I love my buff! It is great in the
sun, the wind, over my face, or as a headband for extra style points. It’s a
versatile neck gaiter that is stretchy, too. Available in lots of styles, so
choose carefully which Buff will represent your personality the best. Mountain
flair and function.
11. Socks. Medium weight, usually. Make sure
they fit with your boots and are not going to cut off circulation to your toes
from being too tight.
12. Hat. Get one that fits your head well
and won’t ride into your eyes under your helmet.
13. Goggles. I often pack ski goggles with
me if I’m going into the mountains, in case the wind is bad. They don’t weigh
much, and often make windy weather tolerable.
14. Sun glasses. Ice and snow reflect a lot
of light. It’s great to have something that will shield your eyes from UV
radiation and falling ice. A one-two
punch!
15. Watch.
Altitude watches are nice, but usually not necessary for ice climbing.

And most important, have fun!
–Mike Pond, Instructor and Guide