


With more and more climbers going “leashless” these days, companies like
Black Diamond have a large enough market to make a product like their Spinner
Leash profitable. However, before you go out and drop $49.95 on a
manufactured leash, don’t forget that people have been making them at
home for years. Here is one way to do it…
Materials:
- 12 feet of 1/2 inch webbing
- 1.5
feet of 1/2 inch webbing (different color than above) - 12
feet 1/8 inch elastic shock cord - 3/8
inch swivel or bigger - 2
carabiners or Spring
Snaps
Take the 12 feet of webbing, put one end in
your hand and stretch it out to full extension. At your farthest reach,
pull the middle of the webbing to your waist.

- Two colored webbing is not necessary,
it’s just nice to be able to distinguish between the separate pieces of
the umbilical quickly. - If you are using spring snaps, make sure these fit in the bottom of
your tool. - You can really use anything to connect these to your tools, from
small plastic carabiners to key chain rings. - This took me about an hour to do, including an initial failed
attempt. - Buying “12” feet of webbing is not necessary, you could measure the
amount you need in store and purchase only that amount. I estimated 12
feet because I figured only a giant would need more than that. - You can use a lighter to melt the ends of the webbing back together
so they don’t fray. Kids ask your parents for help.
A few notes regarding safety:
- These umbilicals are not meant to be
used as a personal anchor system or as a “back-up” while placing a
screw. They are not load bearing. - I used two small, C.A.M.P
Nano 23 carabiners to attach to my tools. If you use any kind of
attachment method that isn’t “full-strength” make sure they don’t
accidentally get used on your rack. While they may be heavier, I opted
for full-strength carabiners to avoid any mistake. - Notice where I girth hitched the blue piece of webbing, to my two
tie-in points. If you girth hitch anything to your harness, be it a
sling, daisy chain, or umbilical, do it to your tie-in points. Girth
hitching to your belay loop limits its ability to rotate, which is
important for reducing wear on one specific part of the loop. A good
rood of thumb is that all soft goods should be attached to the tie-in
points, and hard goods clipped to the belay loop. - Over time, I found that I prefer to actually clip these to my belay
loop, instead of girth hitching. Clipping allows me to remove it
quickly with gloves, and is worth the little extra weight in my opinion.
Let me know if you try to make your own and have any improvements
to my directions or materials. I would love to hear your feedback! I’m
pretty excited that I did this at the end of the season, right when
they are no longer necessary…. Wait, our ice season isn’t over in the
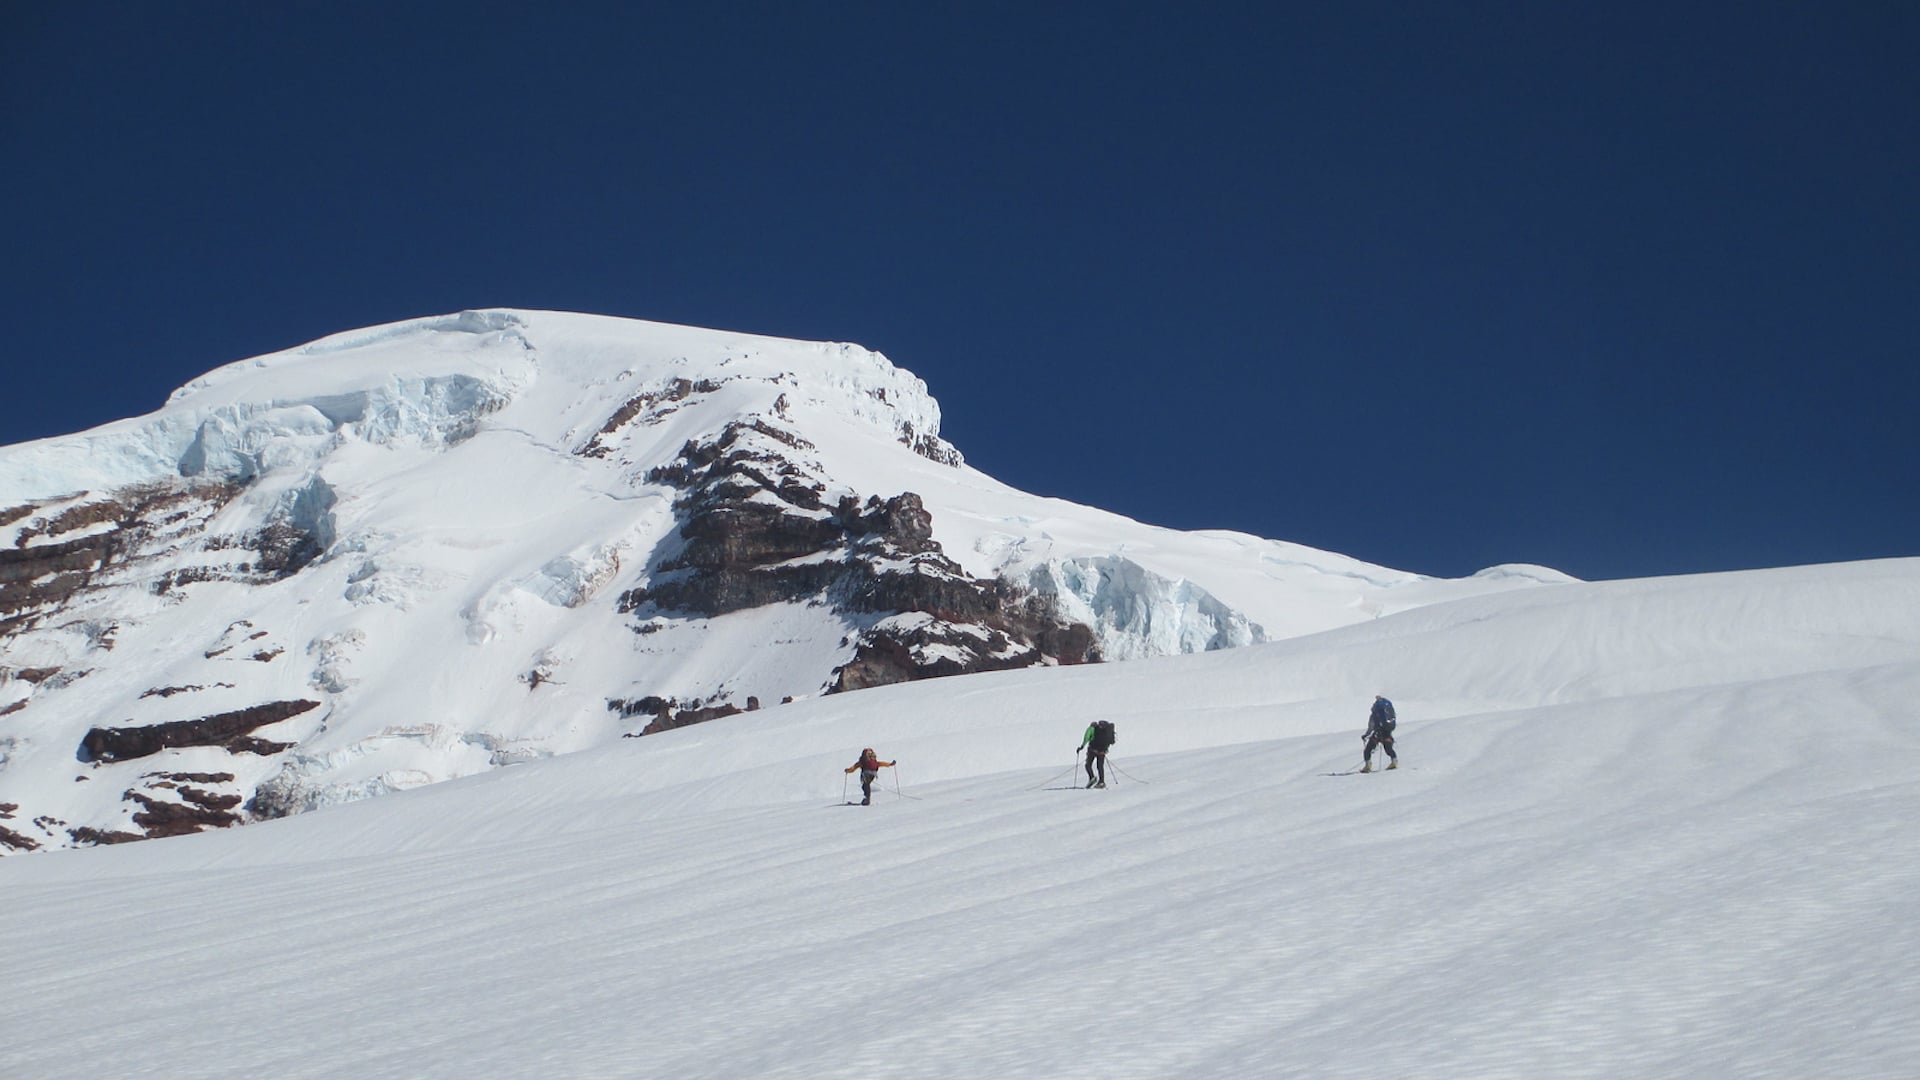
North Cascades! If I went out and climbed the North Ridge of Mount
Baker I could get a ton of ice climbing in during the summer season!
It’s a good thing our Alpine
Ice courses take people to the North side and climb that route.
Make yourself a pair of these and come climb with us!
-Andrew Yasso, Alaska Range Program Coordinator and Guide